

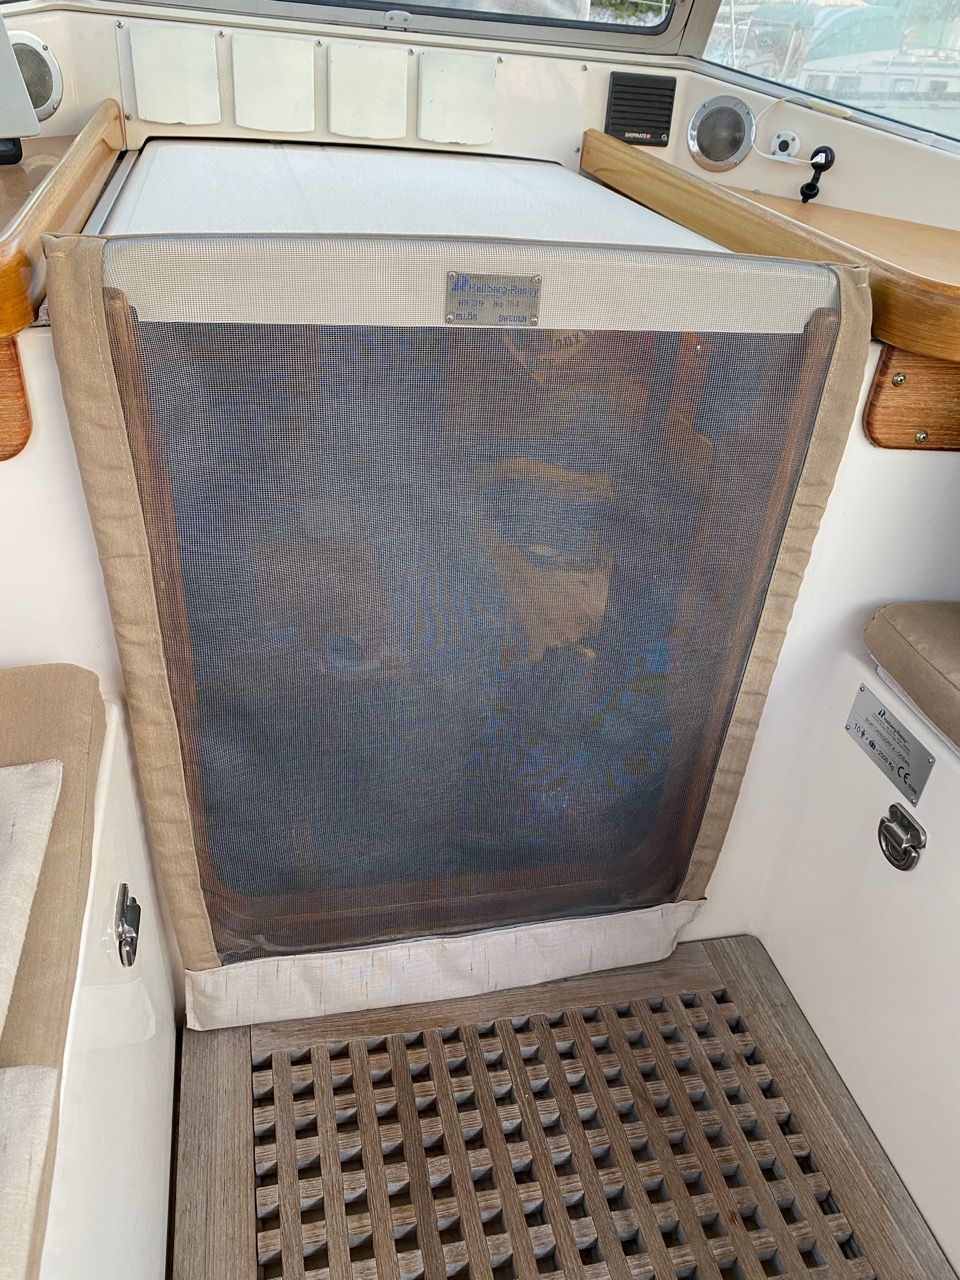
Yesterday I finished making a companionway screen door. This is probably not a general-interest post, though you might dig it if you love problem solving! This is a love letter to the Sewing On Boats Facebook group; I posted a photo there and several people asked for details. Having learned much in that community, I'm honored to be asked and glad to share.
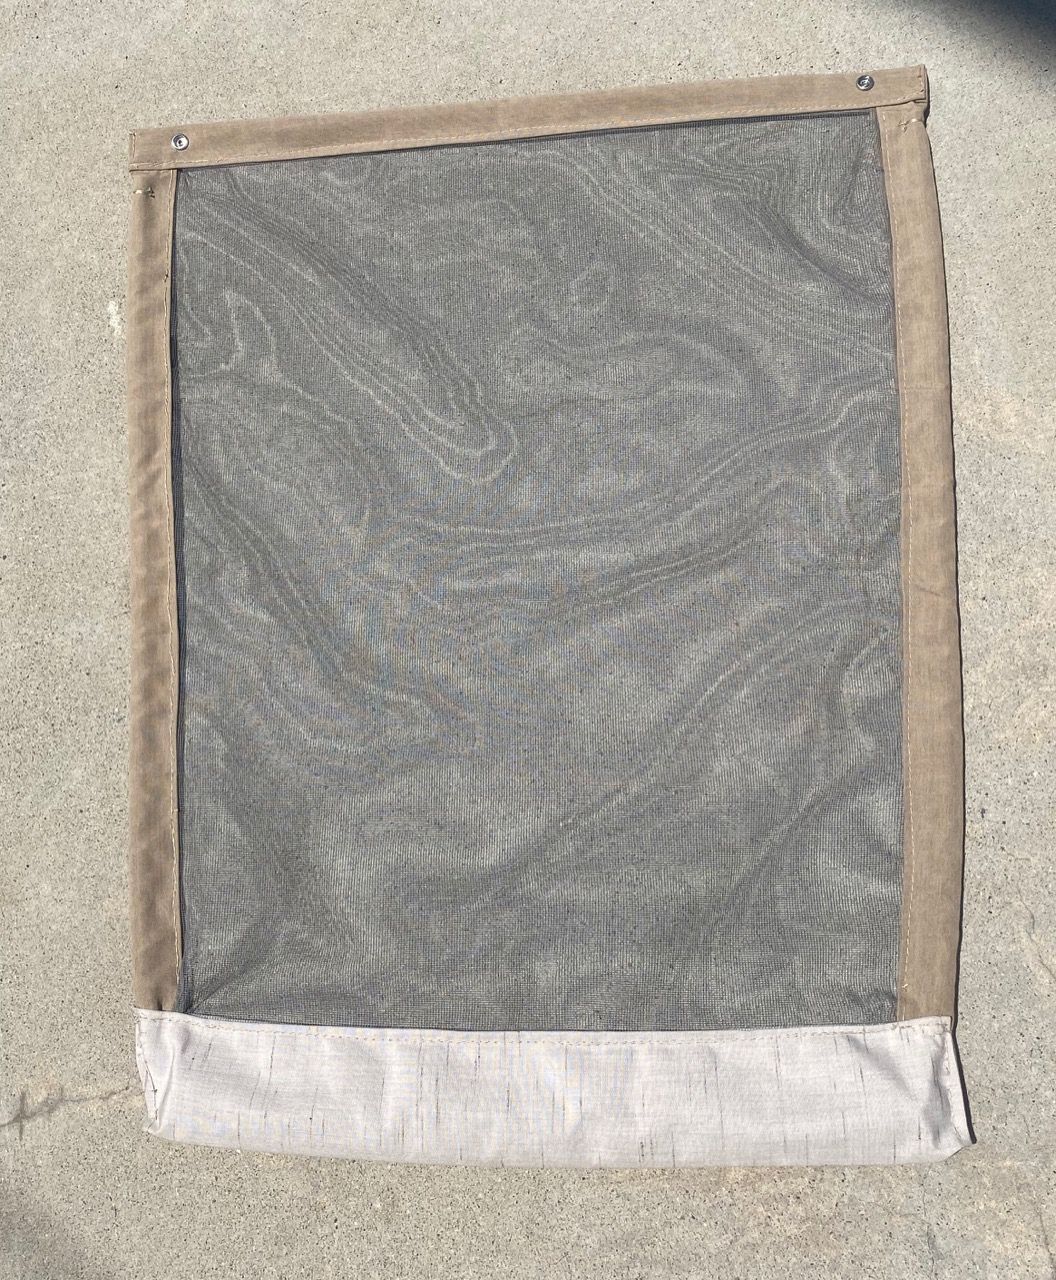
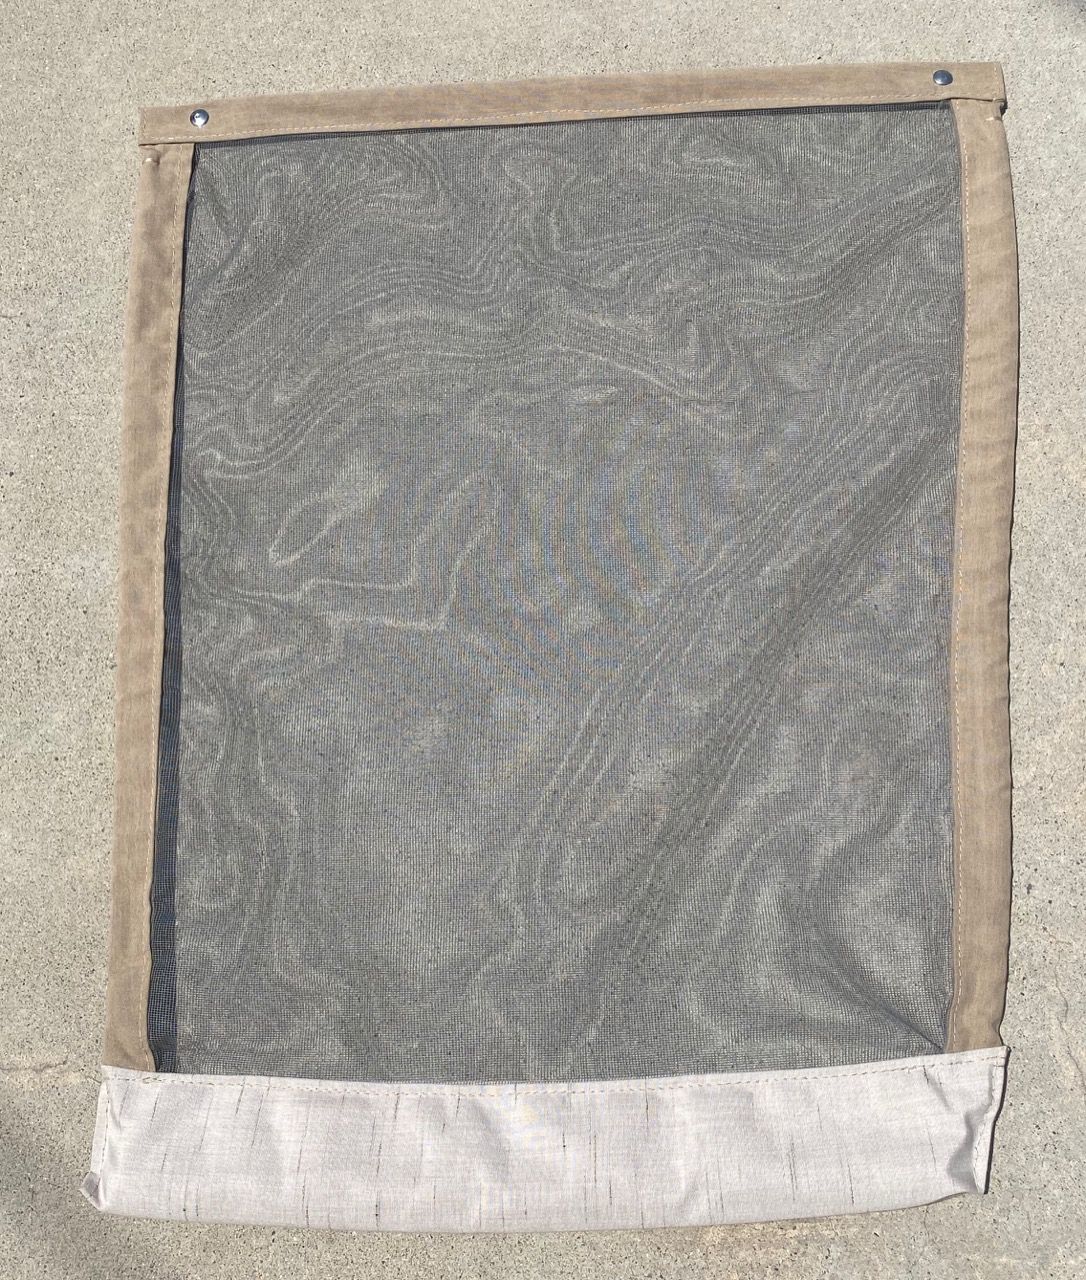
Atop this post is a lovely photo of the screen door in place. Below is the screen door lying on the dock. I wasn't sure until this was done that it would be for keeps. Last year I spent eons making Version 1. It was too complex, awful to interact with. This time I wanted it to not just fit but to work really well for us. I didn't fuss about making it "perfect"; the back side is a hot mess aesthetically. I love to make good patterns; it's the best way to ensure success in most projects. I made one last season for Version 1. This part of the project was all about experimentation and improvisation, though.
I began with the screen door I made last year. Version 1 assumed the sliding hatch would be open. It was made our first season in Mexico in early spring, so we had yet to understand that Shade Is Everything! It had stiff sides and central ribs. I looked at Version 1 and decided that the horizontal portion would be a nice start for Version 2, which was only going to cover the vertical with the hatch closed. I hacked off the portion of Version 1 that was supposed to cover the vertical opening and cut out the stiff inserts from the edging. This left me a piece of screen about the size of the opening edged on three sides with tubular Sunbrella panels. The screen was basic mosquito screen purchased at Home Depot in Mexico. Double-sided basting tape was my friend in making the edging.
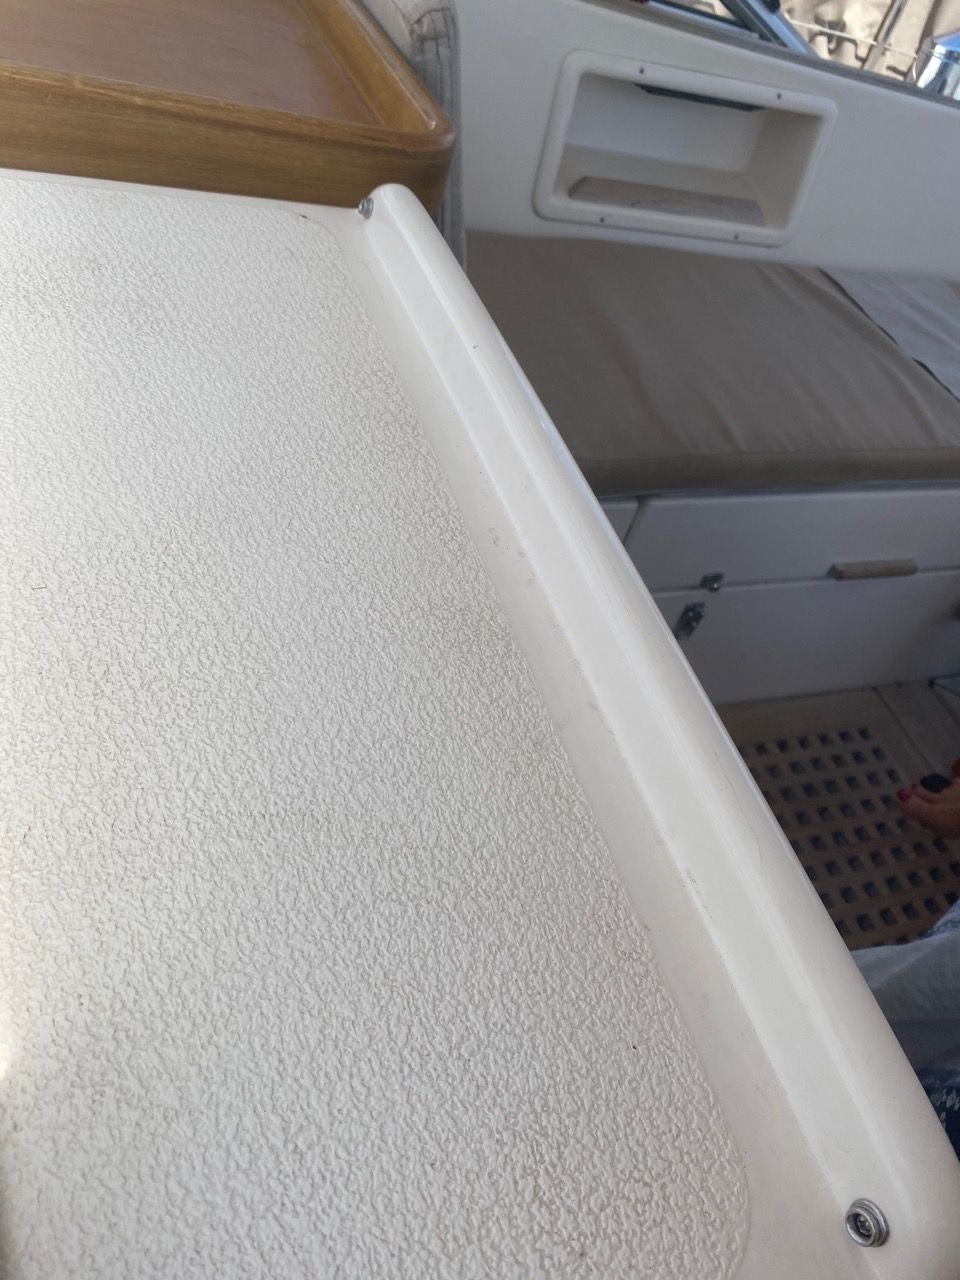
I decided that the finished end would attach to the hatch and that I'd work out a new bottom panel for the raw end where I'd hacked off part of Version 1. James and I decided to use snaps to attach the door to the hatch – anything that involves a hole in the boat is a mutual decision! The snap bases on the fiberglass hatch are bedded with butyl tape to prevent water intrusion. James installed them because I don't know how to repair gelcoat, and the person who would have to do the repair if something went wrong gets to do the job around here when possible. We positioned two snaps at the edges of the hatch, hoping that if I got the snaps on the door just right, it would fit so taut that no additional snaps would be needed to support the center.
After the bases were installed, I masking-taped the door in place over them. I pressed on each snap base with my finger through the tape to mark its location, then poked a pin into the center. I used a leather punch to enlarge the pinhole and installed the snap into that hole. Perfect positioning! I'm very proud of this method, which was much more precise than I've gotten in marking with a writing utensil! I marked both snaps, installed one, then pulled the fabric very taut to remark the second – this moved it a quarter inch and made the nice taut fit we needed to avoid adding more. Yay! Snaps were applied to the cloth with a Press-N-Snap. There are less expensive tools for this available, but I have not been able to consistently get a functional snap from them.

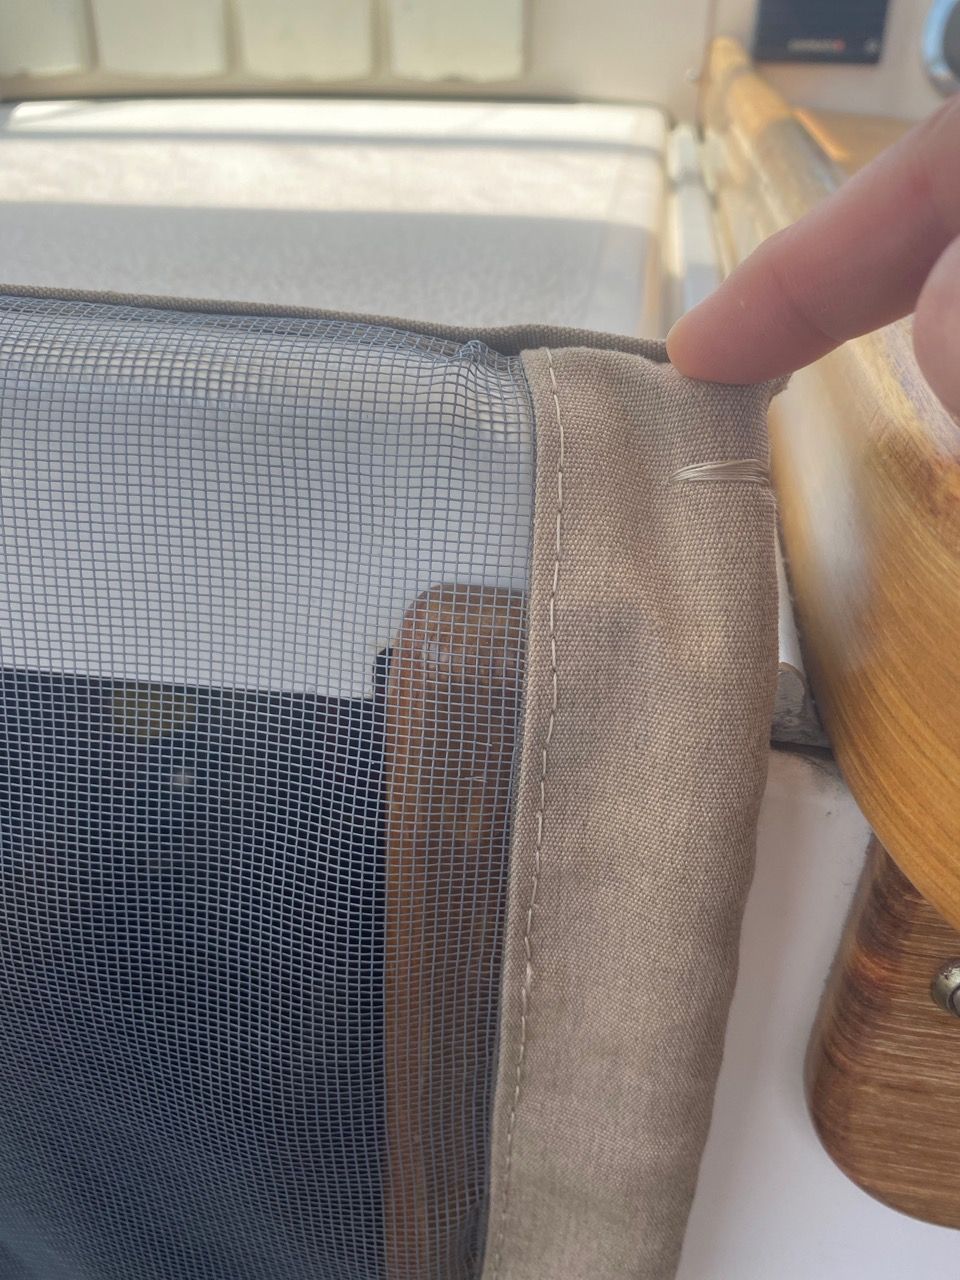
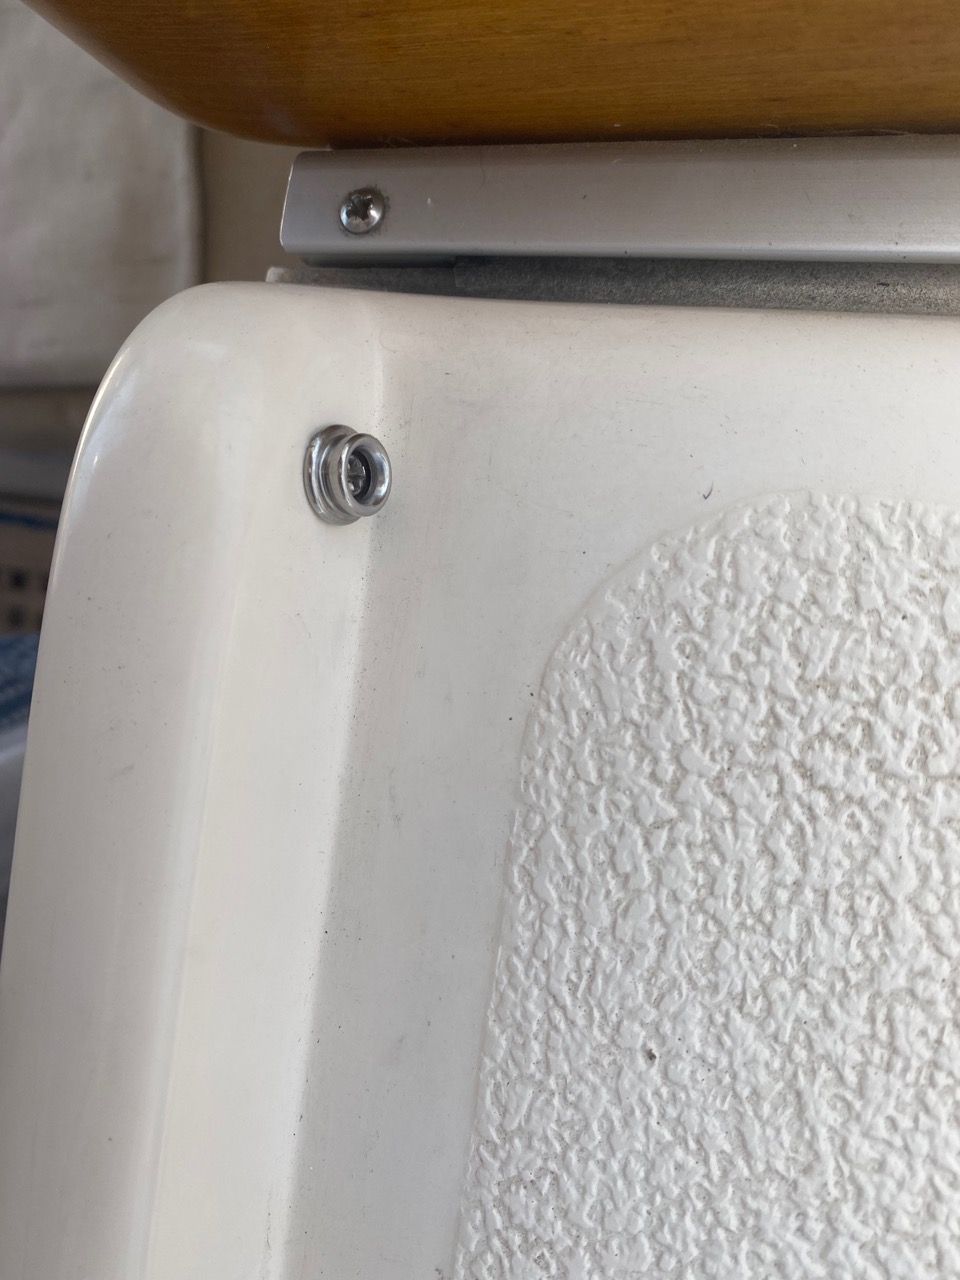
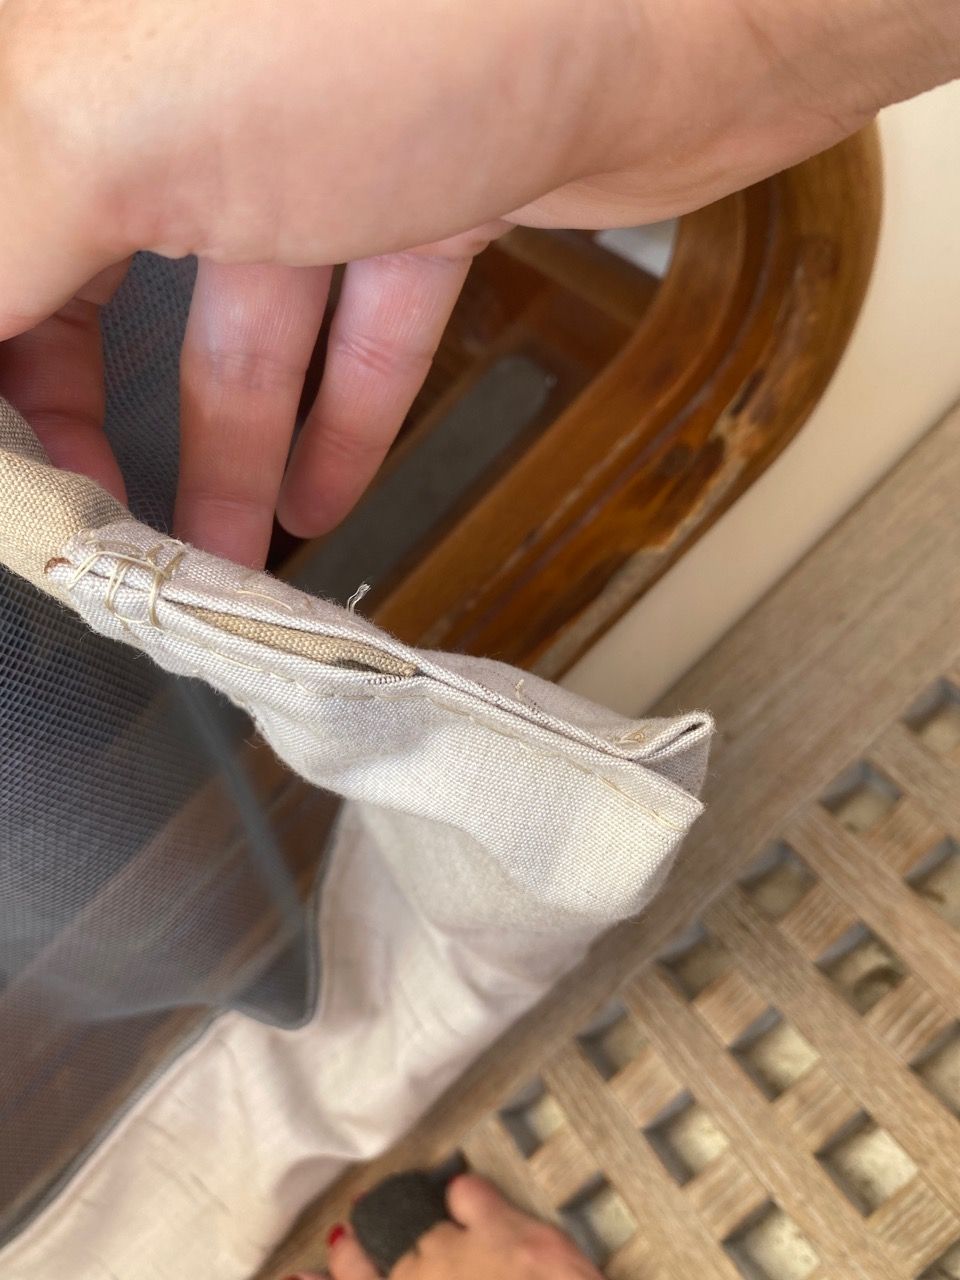
The screen material is the width of the companionway opening and the edging panels sit just outside that. Since we wanted the door to be pliant, I used 5/8" line inside the edging to bulk it up so that it would as a result of its shape be inclined to hug the wooden border of the companionway – if I could get it to hang right, which was a problem for the bottom panel to solve. The line is positioned just low enough inside the edging that the top and side panels can hinge around the handle at the end of the hatch. The line is hand sewn into place with sort of like a line end whipping; you can see it near the snaps. I love the way this looks! The purpose was to ensure the line lay smoothly ; I discovered as I played with it in the experimental phase that if the line were not stabilized, it rotated, which changed the drape so that the edging no longer hugged the companionway. The line ends before it gets close to the weight inside the bottom panel so that they do not interact and each lies cleanly.

The bottom panel was the tricky part. It needed to be heavy enough so that the door would pull down and lay snug-ish-ly against the wooden border of the companionway. It couldn't be too heavy or it would be bothersome to interact with and could damage the hatch when you threw the door up onto the hatch to exit from inside the boat. The bottom panel needed to have a certain amount of bulk to ensure it would sit just right, easily, without needing to be attended to every time it closed. The bottom panel also needed to be positioned carefully top-to-bottom-wise so that the side panels would hang smoothly rather than buckling upward. The bottom needed have just the right tension, not a fully free hang, but a bit of hang at the edges. I wanted to be able to drop it and have it just fall into place.
Experimenting with how to get it all to fall just right was complicated by the fact that I couldn't use my usual tools for holding my sewing together: both stainless steel T-pins and Wonderclips caused distortion to the door. Tape lay nice and flat, but was prone to coming apart at the wrong moment. Finally I remembered reading about the stapler trick, and that worked a treat.
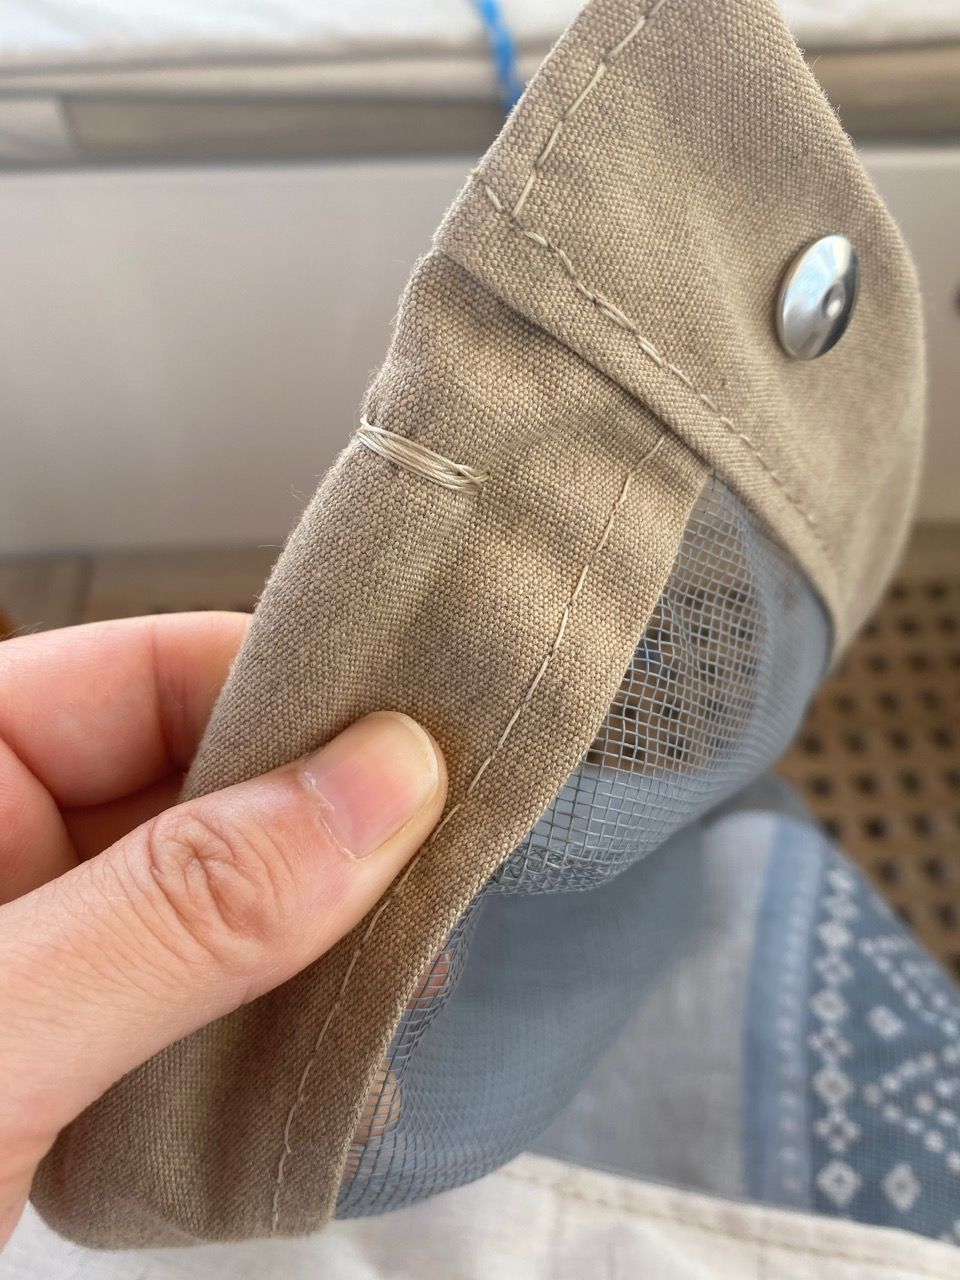
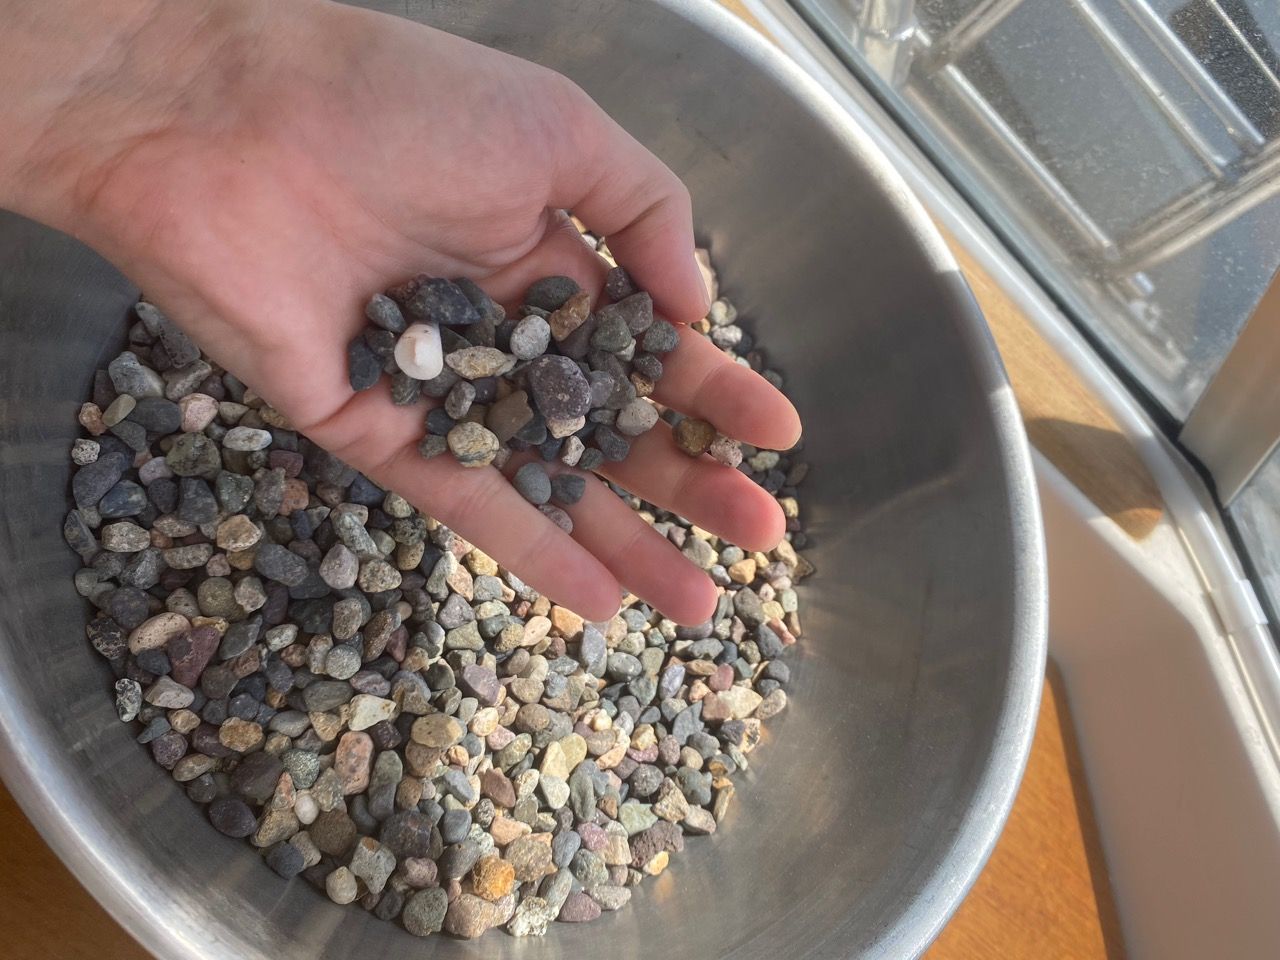
The solution for weighing down the bottom panel began with pebbles. Lots of folks like sand, but I believe it is always wise not to invite sand onboard if you can avoid it. Stones seemed like they would damage the fiberglass over time. Pebbles provided a moderate, flexible weight. But what to do with the pebbles? If I placed them loose in the bottom panel they would all slide to one end every time anyone touched the door and we'd be forever shaking them into place. They needed to be secured. I grabbed a piece of the Sunbrella tubular edging from Version 1 and tried filling that and sewing the ends closed. Worked great.
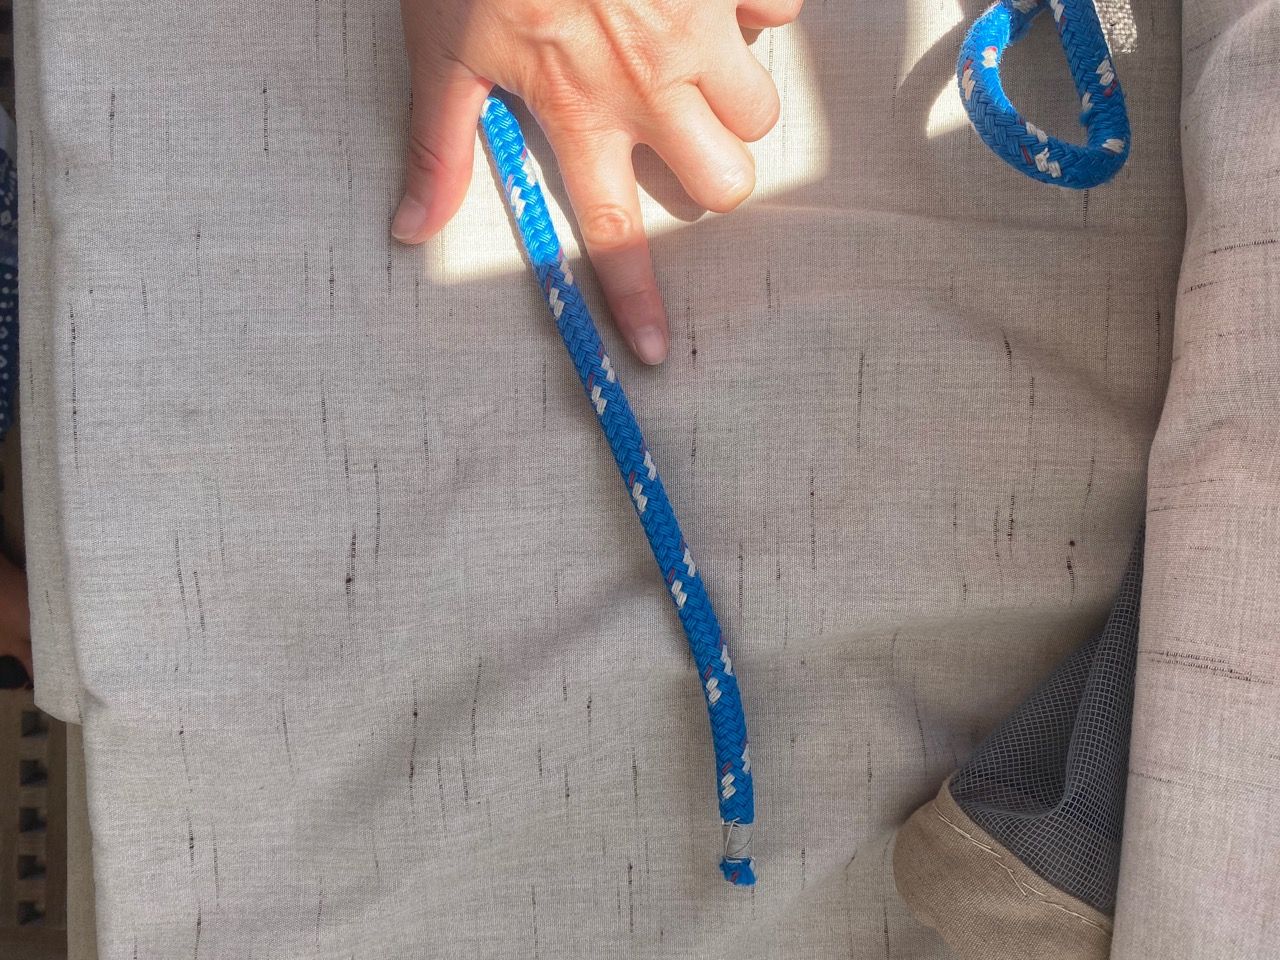
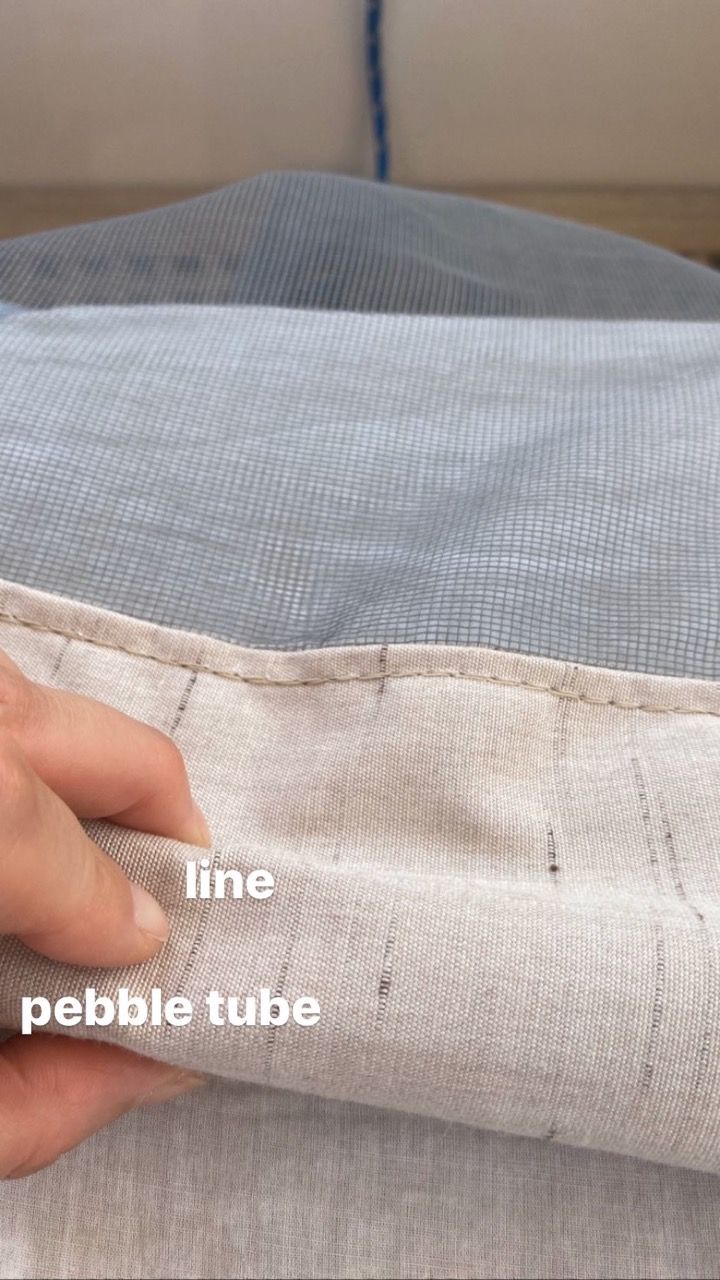
The pebble tube had a stiff seam because I'd given it tidy edging when it was a visible part of the door; both sides were folded over double edged bias tape. As I thought about what to add to it for the right size, form, and weight, I wondered if I could make the seam a feature rather than a bug. I had discarded the idea of a continuous piece of line inside the edging of the door after many failed attempts to get the line to drape the corners and bottom properly; the point where I sawed the line up was very, very satisfying! But what about discontinuous line? I sat the pebble-filled tube down on its soft side with the seam pointing up, tucked a matching length of line on either side of the seam so it made a sort of inverted triangle with line on the top corners and the pebble tube on the base, and sewed this all together at several points along its length so that the line couldn't bunch up inside the bottom panel as the door got tossed around.
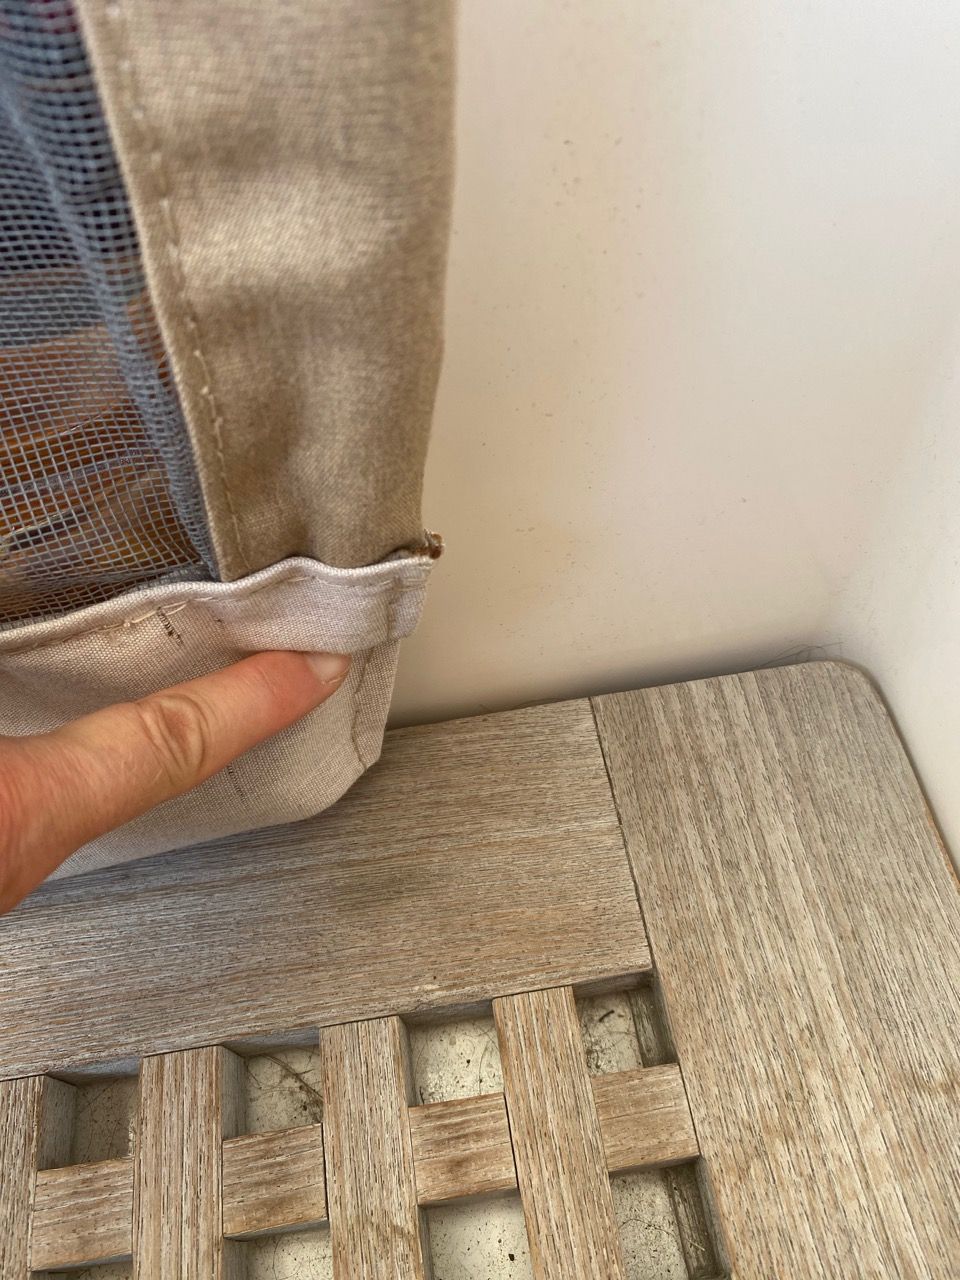
I set the height of the bottom panel so that its weight would just rest against the teak at the middle to avoid constant pull on the screen. I set the outermost edges of the bottom panel just a bit higher so that they hung and pulled on the side panels to keep them taut-ish. I squared off the outer edges of the bottom panel because it lifted that outer corner up another smidge.
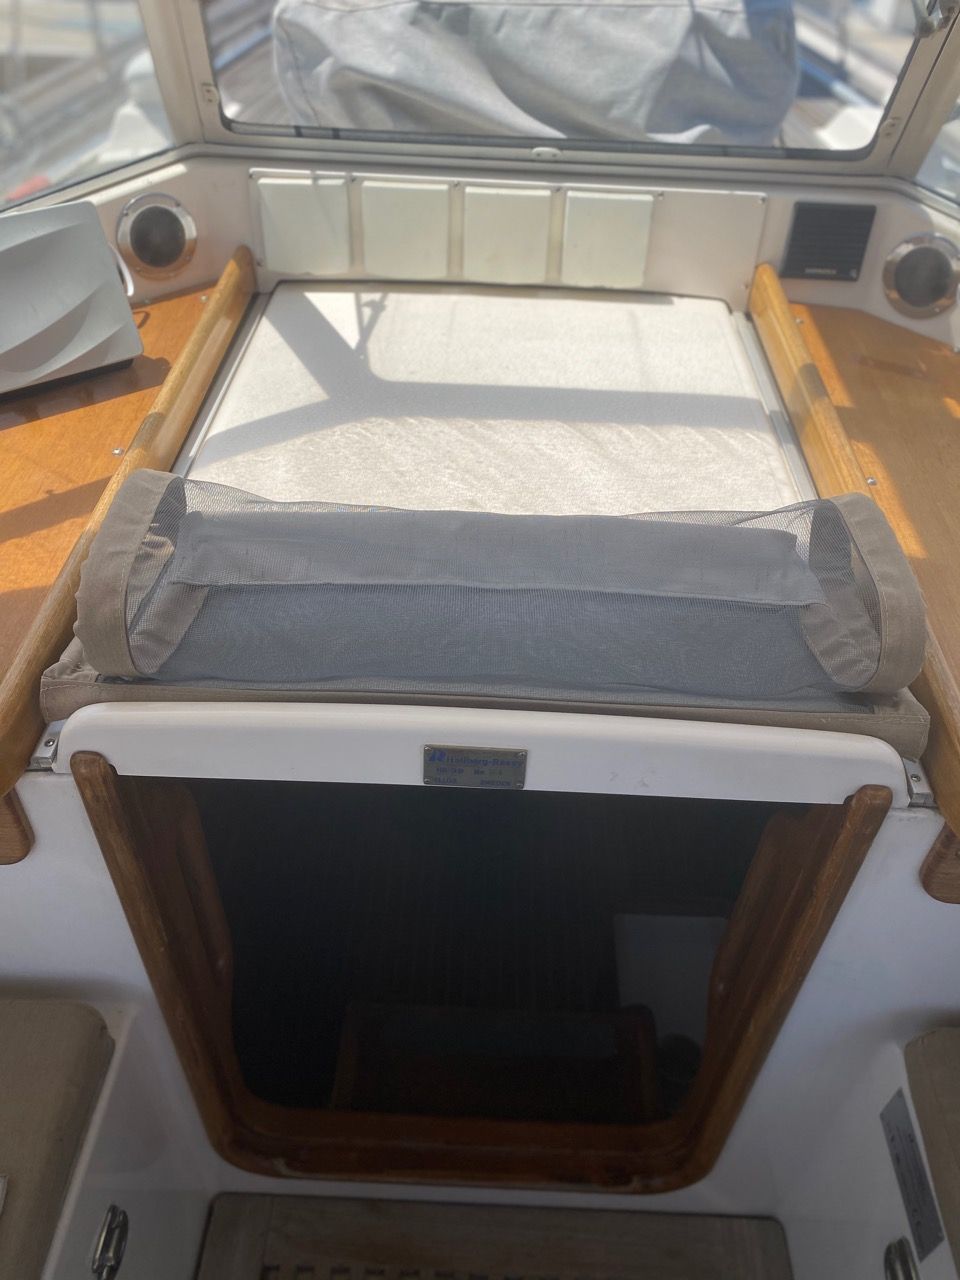
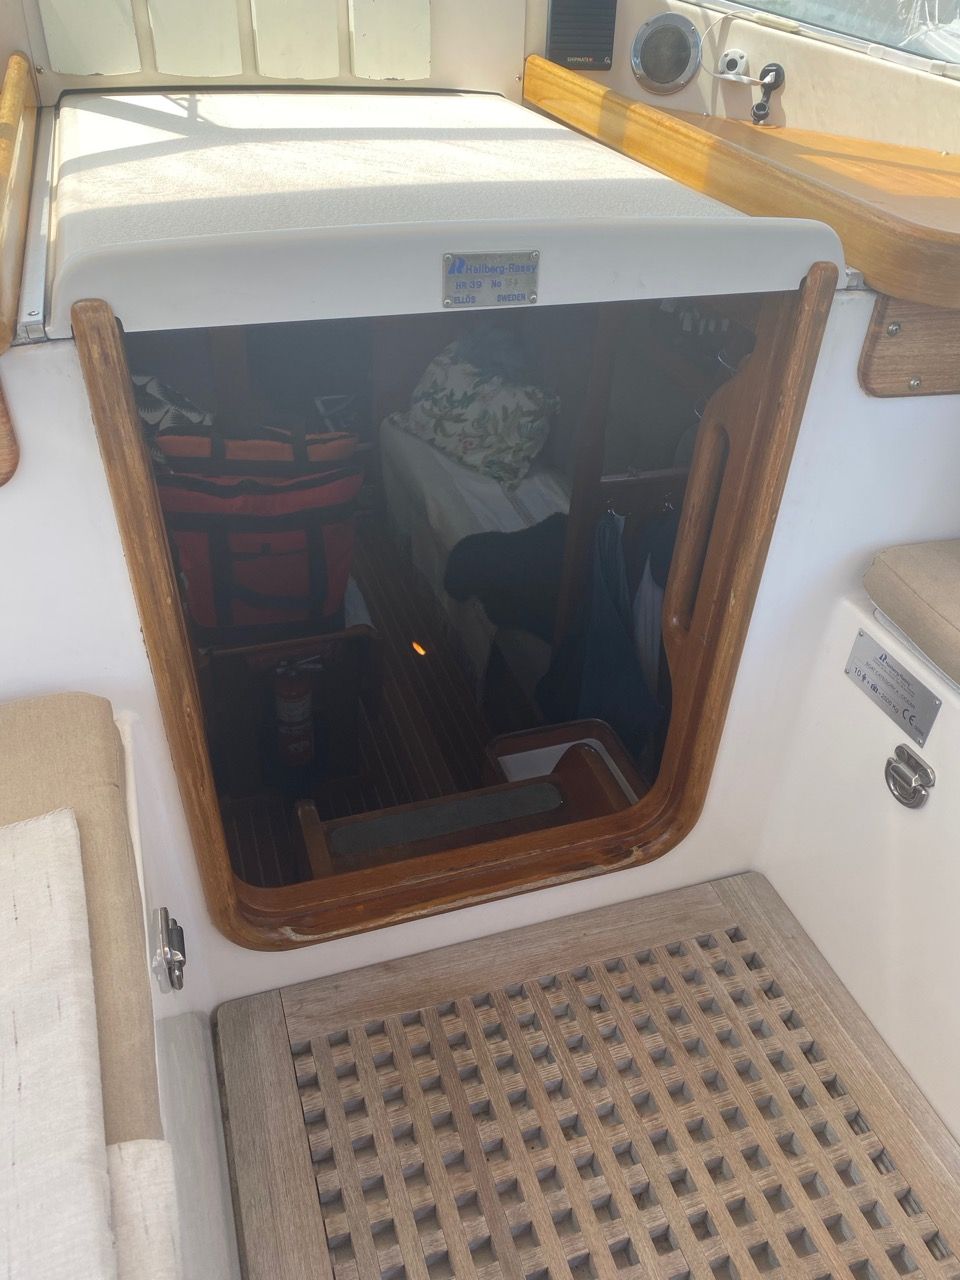
If we are inside the boat, we can toss the screen door up onto the hatch from the companionway stairs before pulling the hatch open. From the cockpit, we can lift the door and lay it on the hatch; it naturally forms this lovely shape which happens to be a reasonable amount to leave the hatch open when we enter or exit. You just drop the screen door to close it and it swings into place quite decently; if you want it to fit more snugly, a few moments of care tucking it into place lets it lie as snug as I can imagine without using a fastener at the bottom.
The magic part? I was getting 3-6 mosquito bites every morning and evening. I haven't had a single bite in 3 days, since I got far enough to hang the door with no bottom panel! There is dengue here, so this is very good news. I still wanted a snug fit on the bottom panel because bees are a lot smarter than mosquitos and we'll be heading up into the Sea of Cortez in time, where bees commonly swarm boats in search of fresh water.
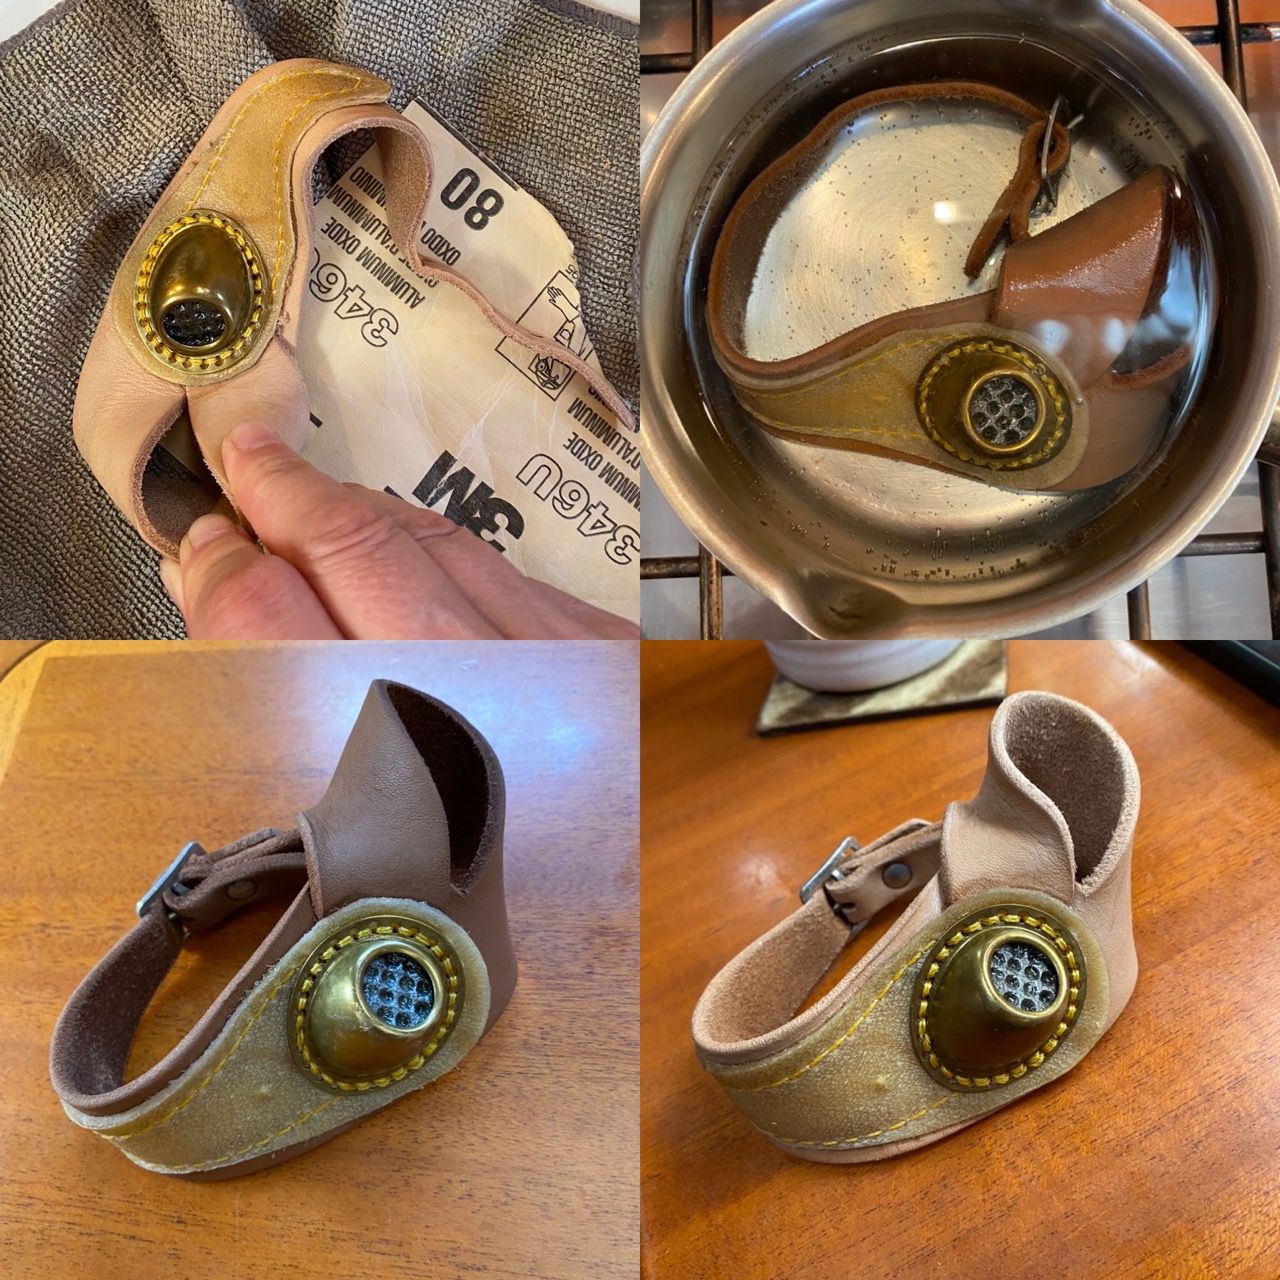
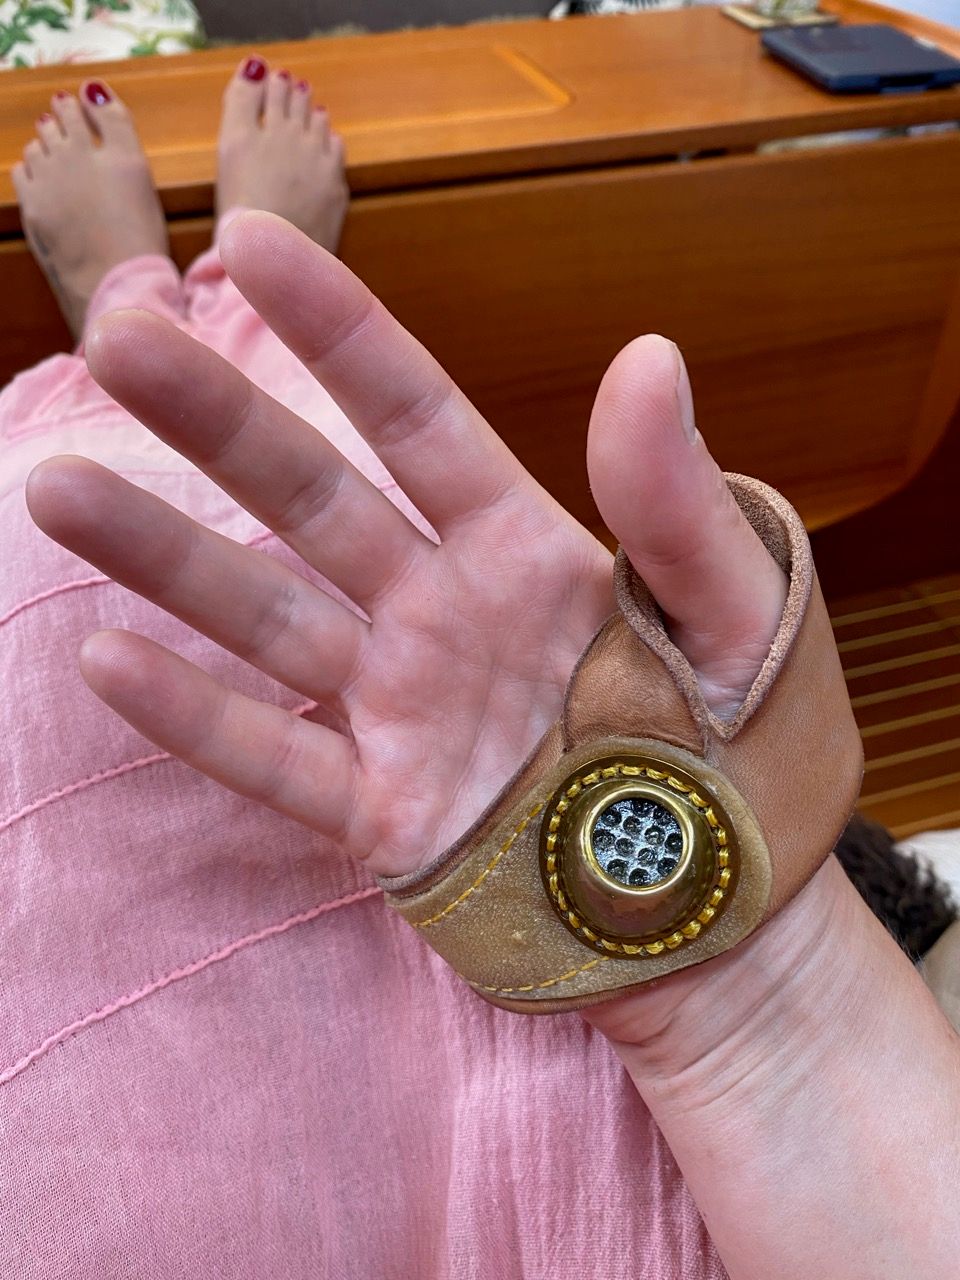
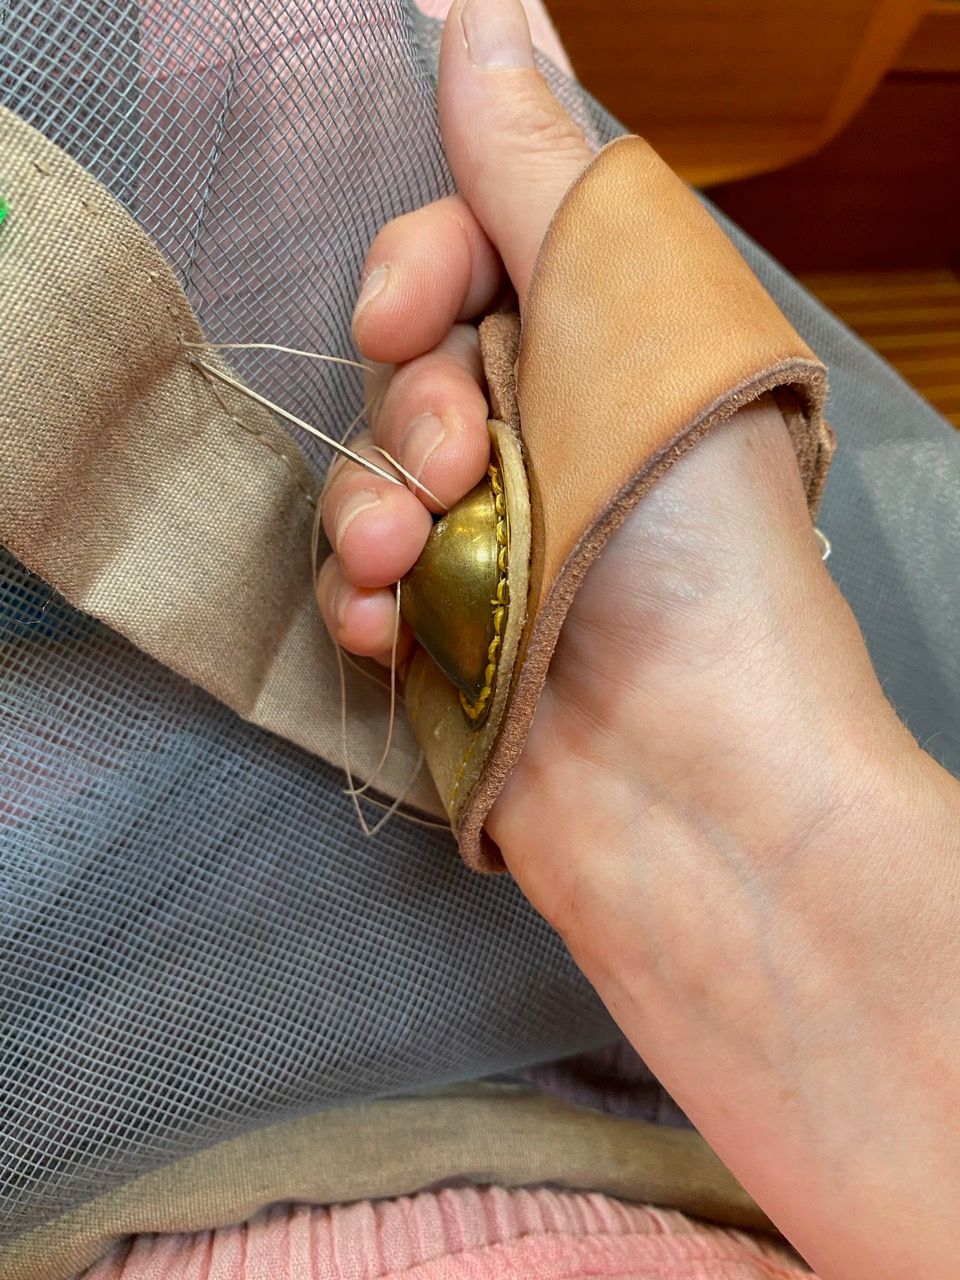
This project took a couple of weeks. Not all day every day, but as a process winding through my other processes. Patience, persistence, and creativity were the keys. I needed the pauses as much as the efforts. I worked, hit snags, stopped, thought harder, tried again. I ran out of light, ran out of f*cks, got too hot, gave up, gave it the cold shoulder for a couple days. I cussed. I cried. Before I hit upon staples, I asked James to hold things and told him to go away. I asked him to brainstorm with me – the line was his idea. I researched weights to use (thanks for your advice, Sewing On Boats!), washed pebbles and waited for them to dry, sewed things and ripped them out and sewed them again – eventually I learned THAT IS WHAT BASTING IS FOR, YOU ABSOLUTELY SILLY GOOSE). I took out the machined stitching at the corners and resewed it by hand when it wanted adjusting because I am not good with fine control on the machine as I am by hand, but I reused the holes left by the machine sewing so that it would have visual integrity from the front side. It was anything goes as long as it looks fine in place. I paused for a couple days when I realized I needed to use my sailmaker's palm for the hand sewing and had to learn to condition and fit it.
Questions welcome in the comments.